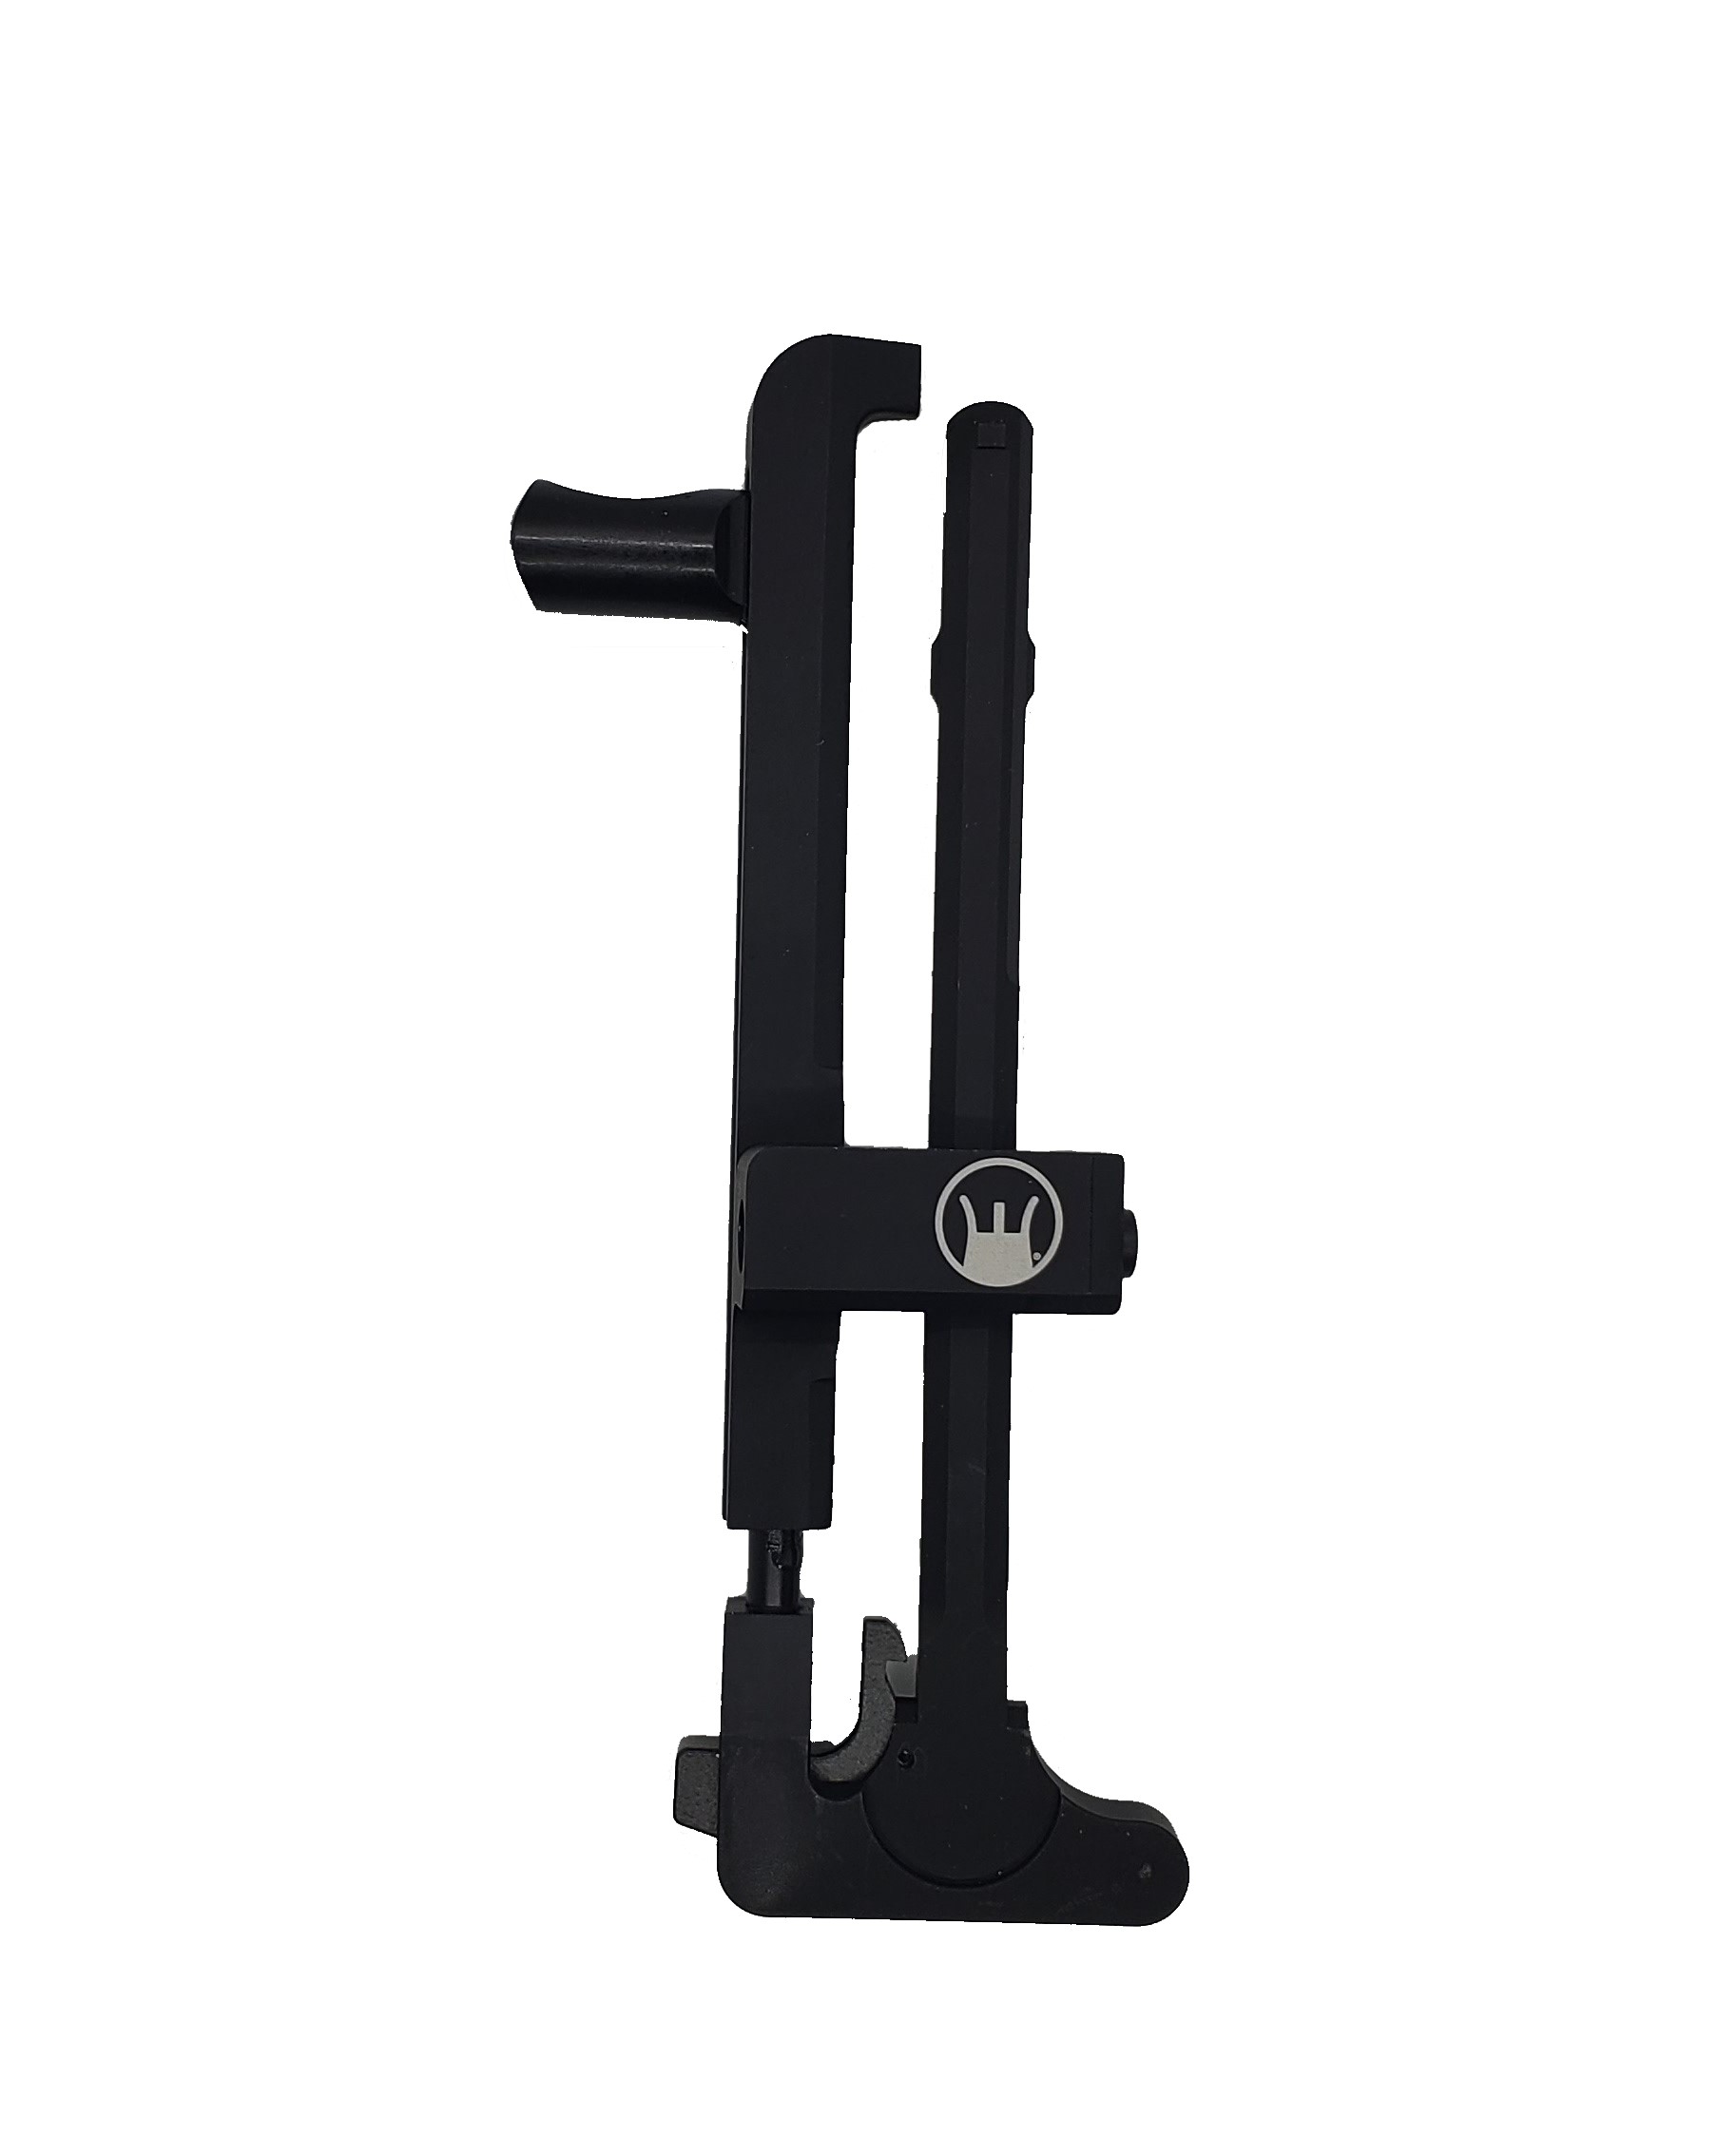
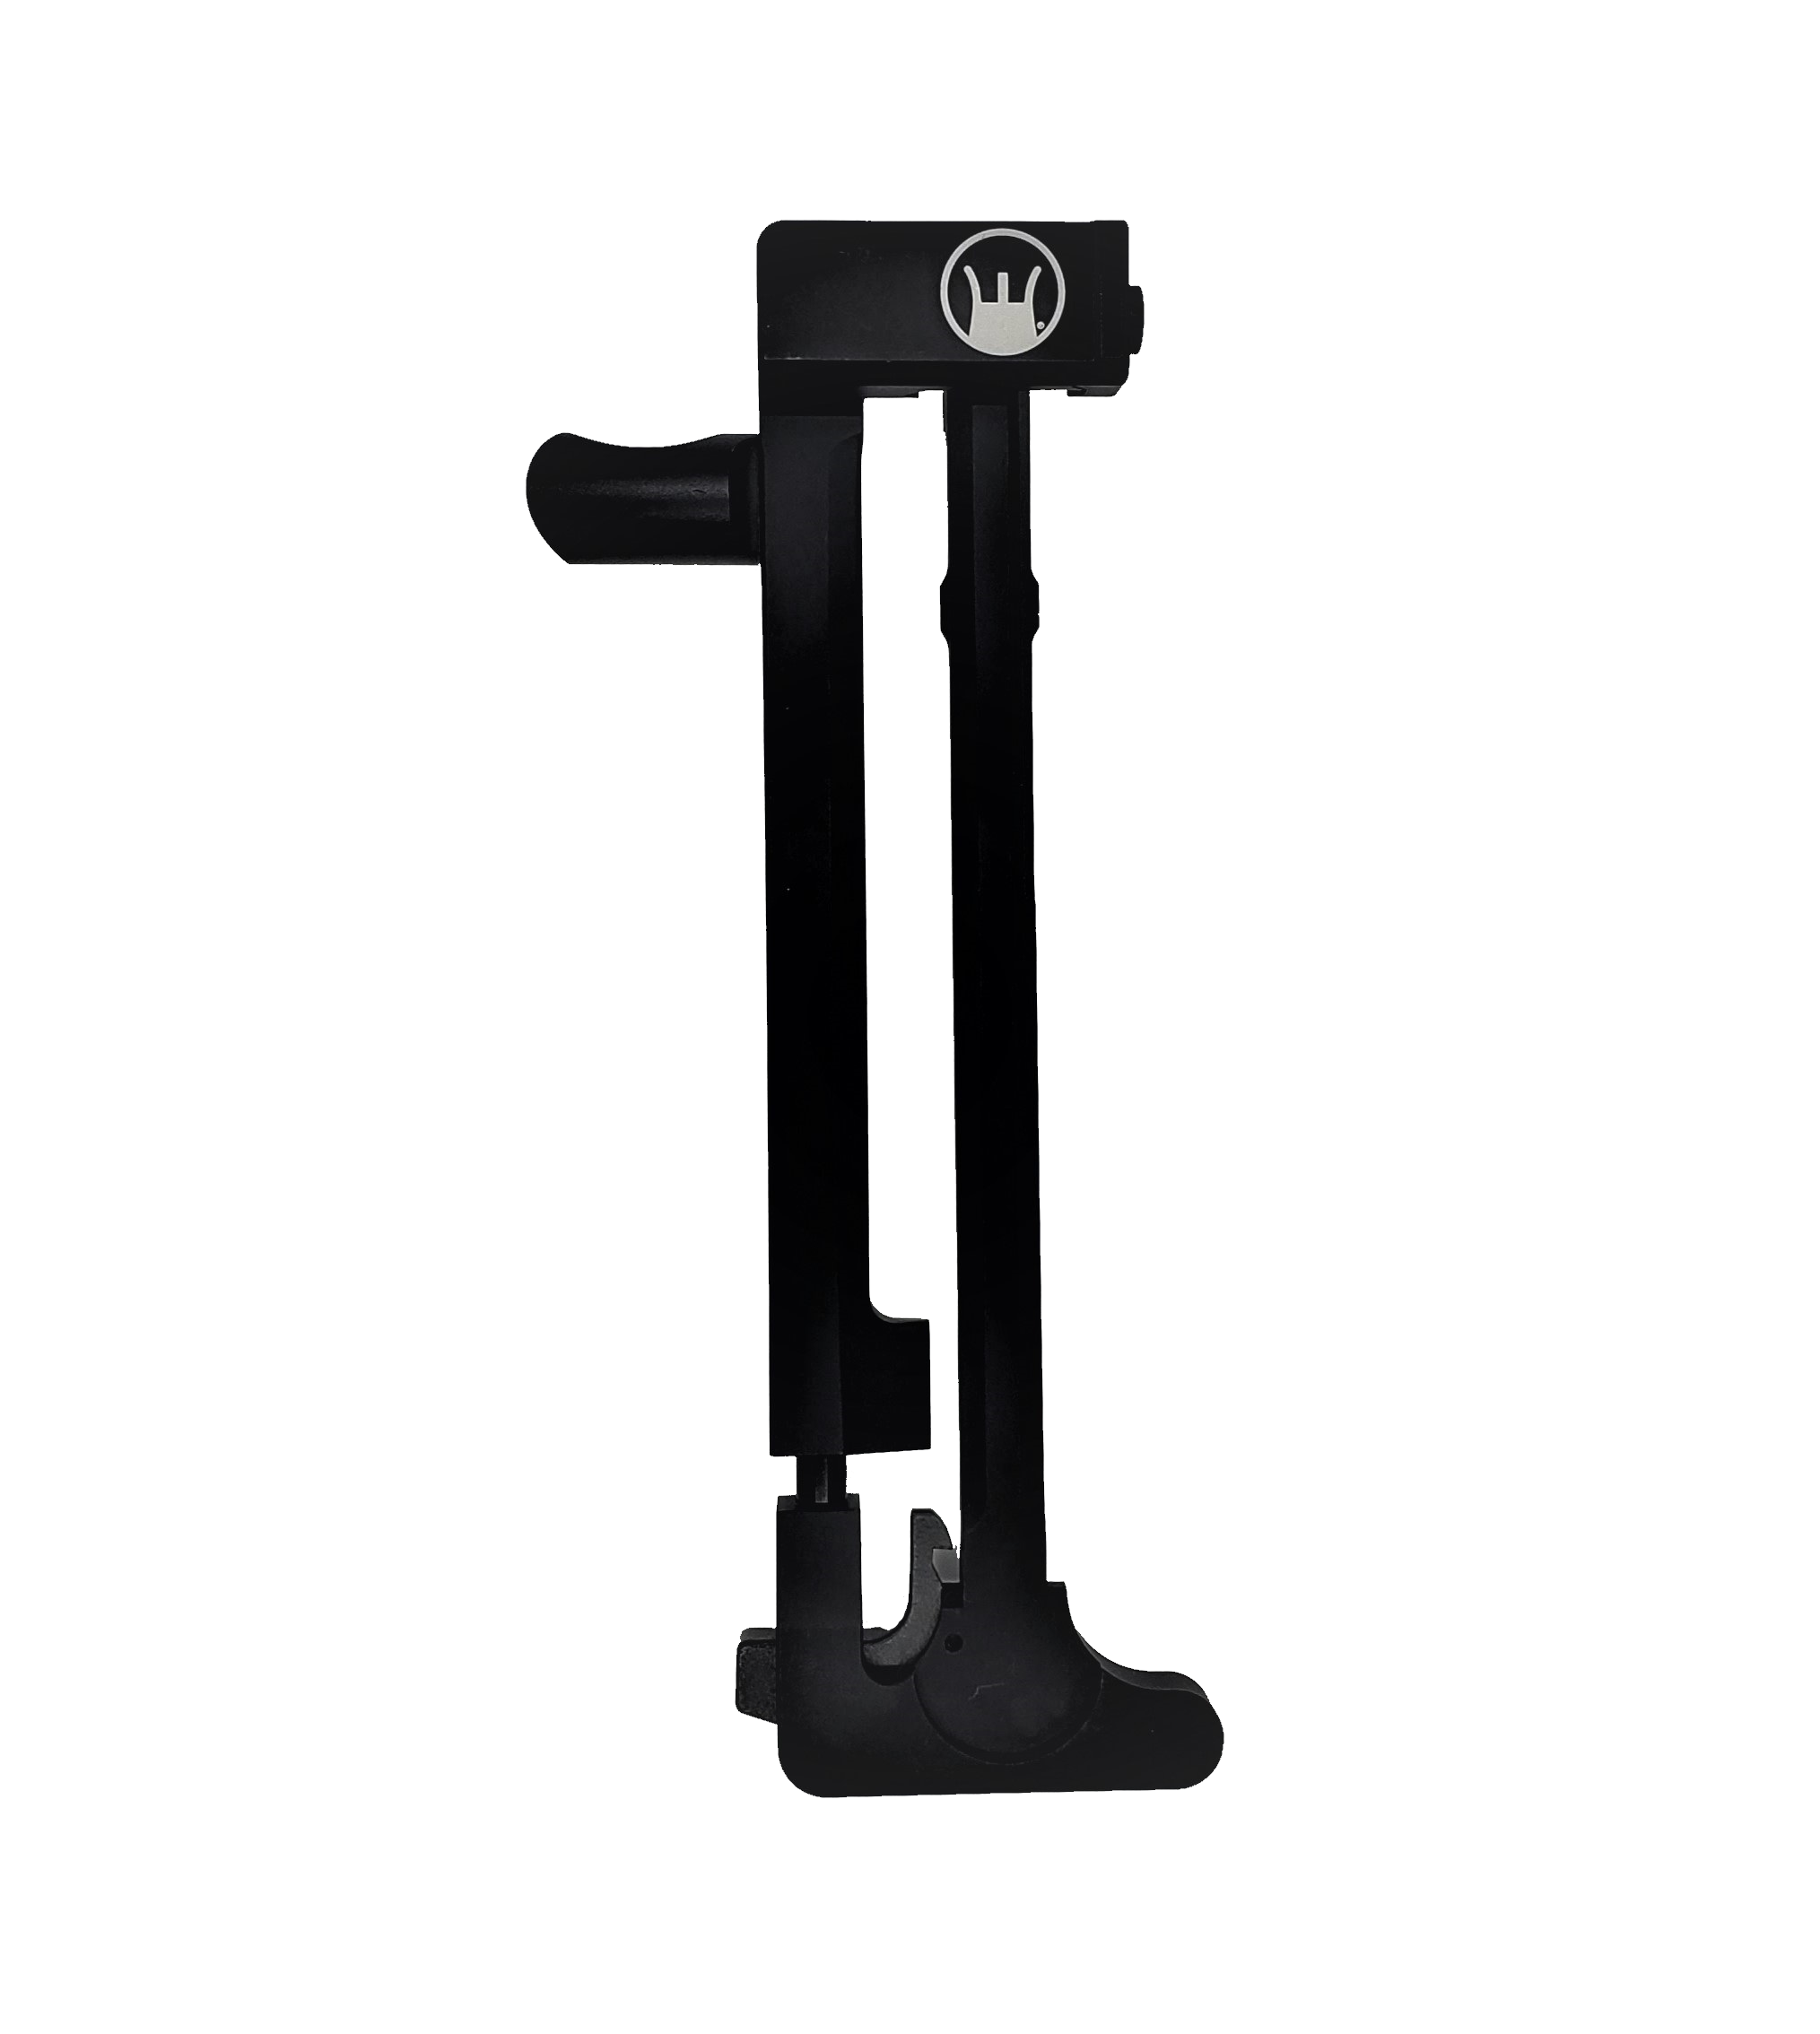
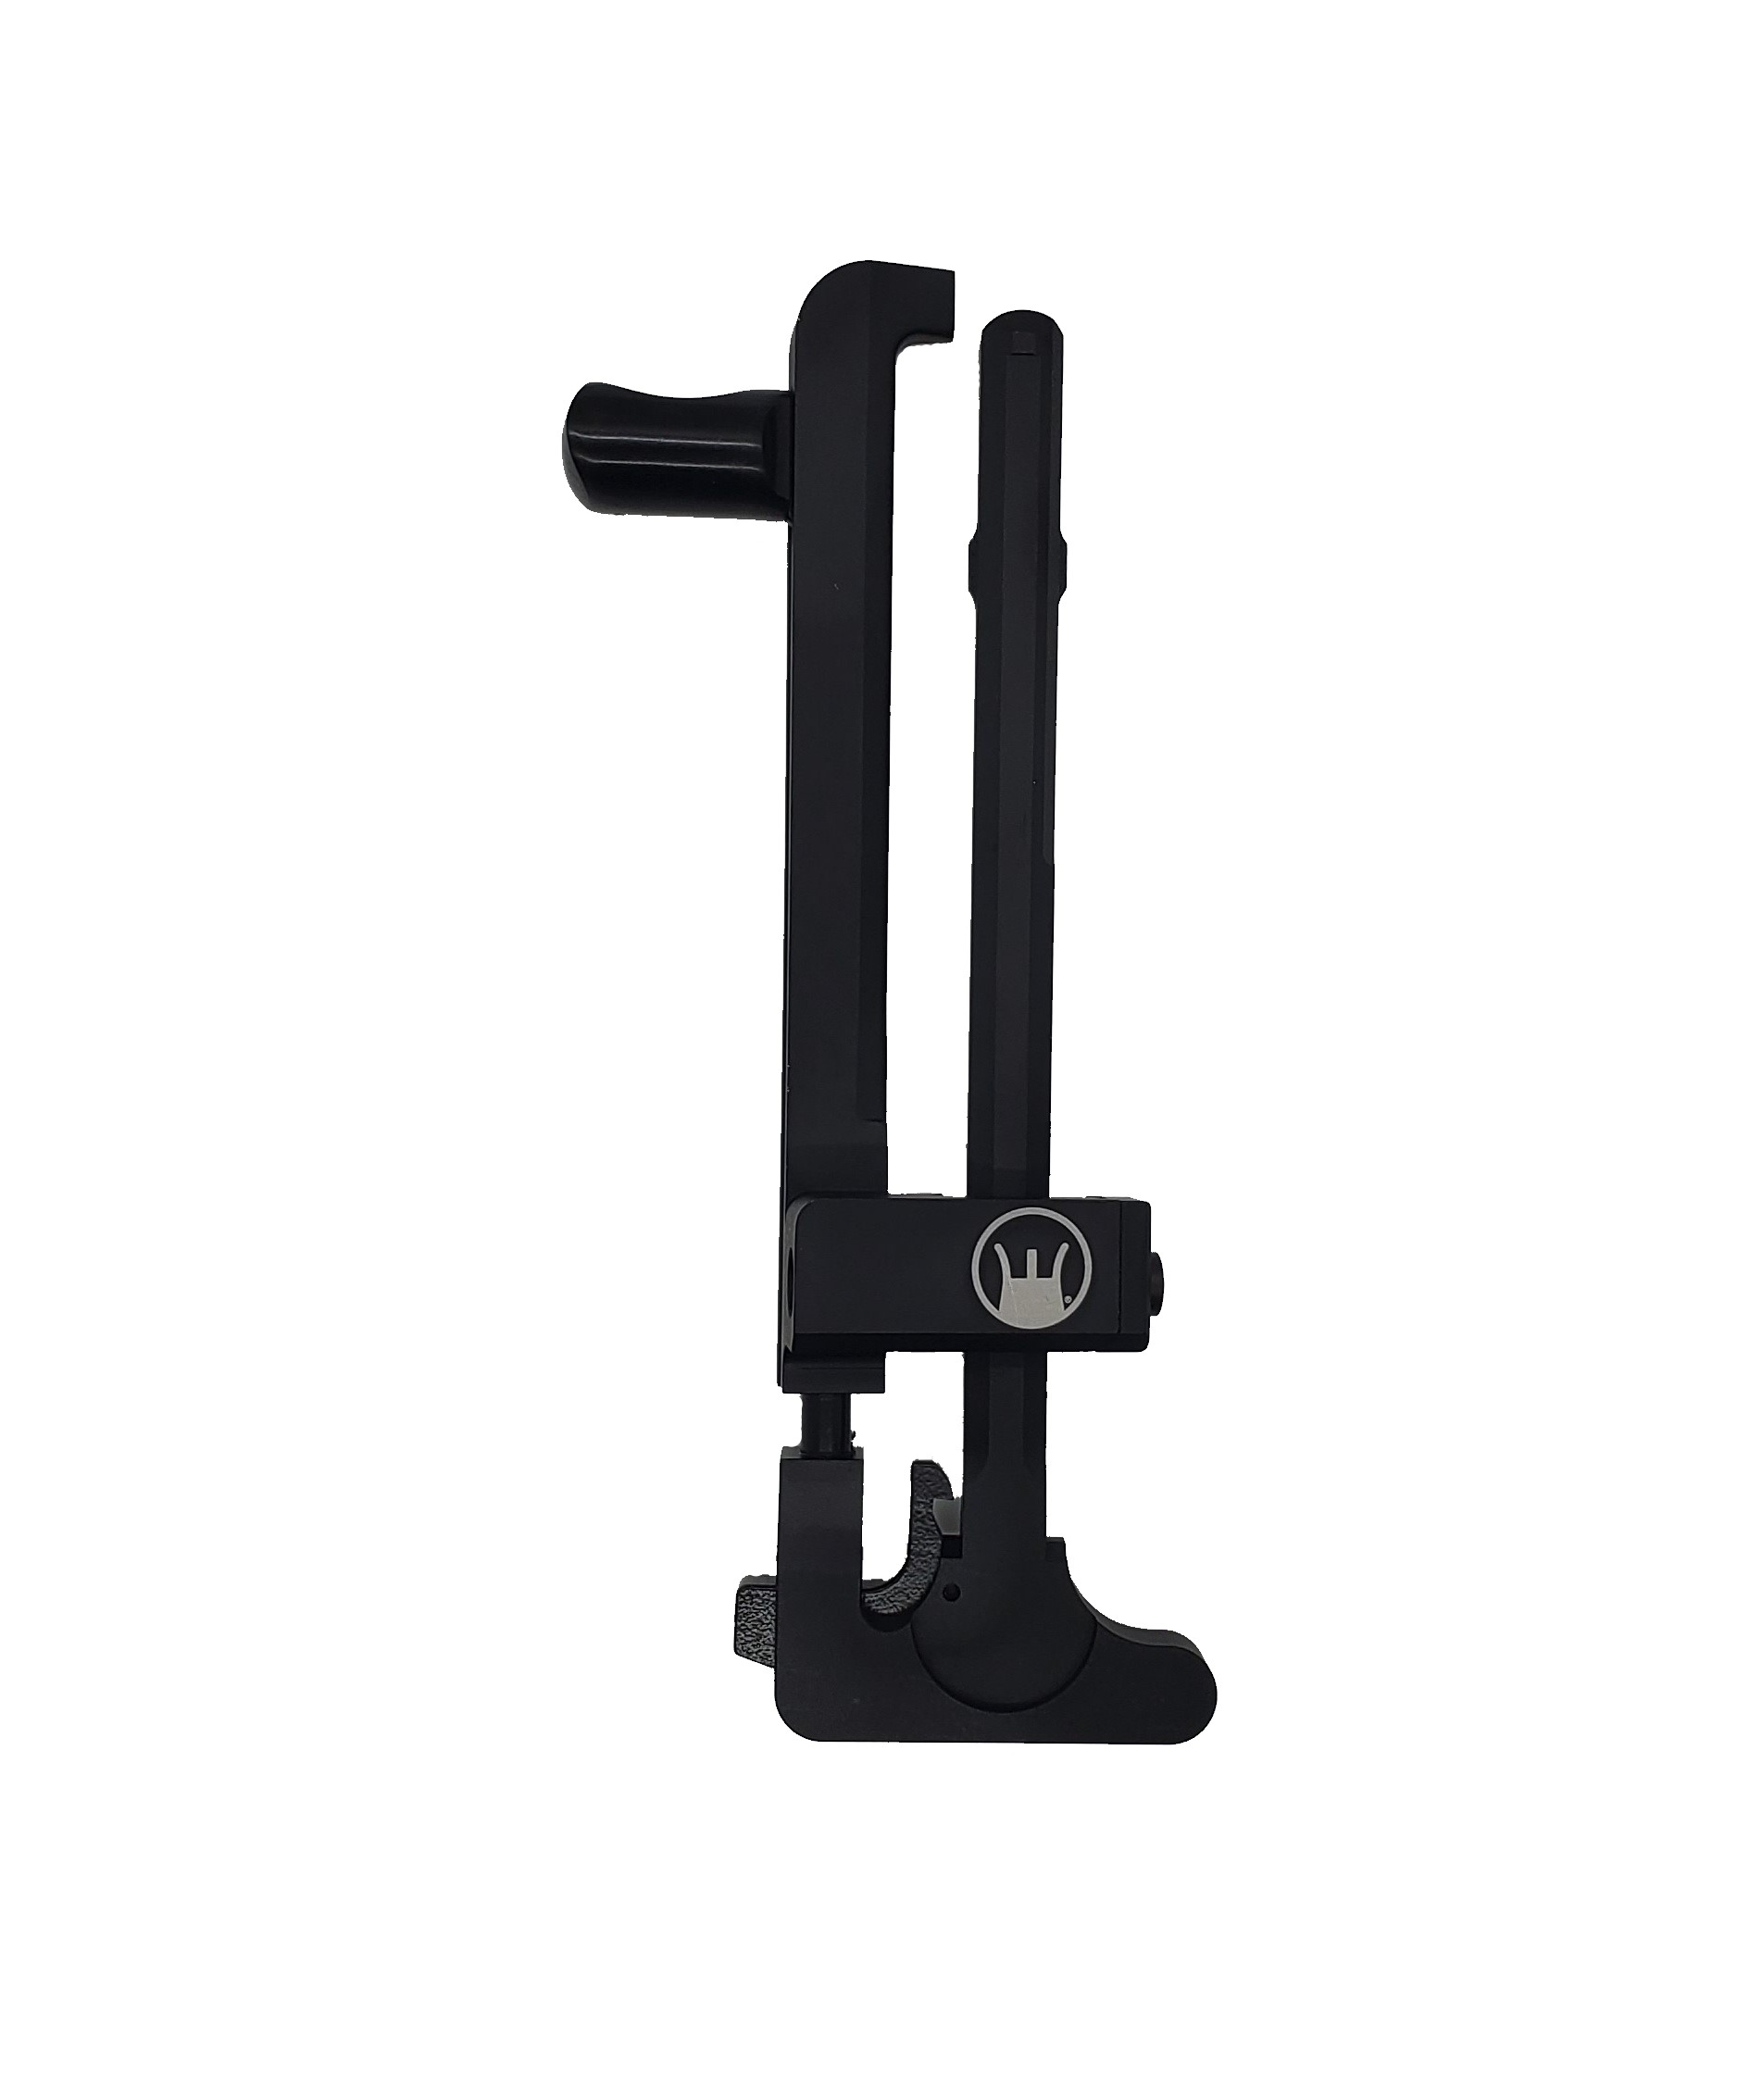
The Hard Charger®

AR-15 Side Charging Handle System

  • INTERCHANGEABLE;

    Can be moved from rifle to rifle as easily as it was installed. The components of each unit are also interchangeable between each type of Hard Charger system as well.

  • FIELD STRIPPABLE;

    Does not require any tools to break down and take apart in the field or on the range.

  • REMOVES STRESS ON ROLL PIN;

    The disengagement design removes the stress on the roll pin and the release lever.

  • REDUCES TORQUE ON CHARGING HANDLE;

    The dual support design reduces torque on the charging handle.

  • NON-RECIPROCATING;

    Locks in place just as a normal Charging Handle does.

  • MULTIPLE WAYS TO CHARGE;

    Designed to allow multiple ways to charge your rifle including the Side Charger, Traditional "Straight Pull Back" Method, and One Handed or against static objects. Works great left handed when used in a reverse "AK" style charging method.

  • GROSS MOTOR SKILLS;

    Specifically designed to be a "self thinking" type of system. By doing this, it removes the necessity of having to use fine motor skills and allows the operator/shooter to rely on "Gross Motor Skills!" This allows you to keep your concentration on your target and task at hand or acquire your target faster.

  • OPTIC CLEARANCE;

    Designed to be compatible with most optics and mounts while also designed with a special width that lets you clear your optics, rails and mounts without "knuckle-busting."

DEVIL DOG CONCEPTS' Patented SIDE CHARGING HANDLE SYSTEM, the Hard Charger®, turns your Standard Forged Flat Top, AR-15 Rifle into a SIDE CHARGER, quickly and easily!

No Machining - No Modification

The Hard Charger® is designed to give you the more ERGONOMICALLY BENEFICIAL option of a Side Charger, which allows you to maintain positive control of your Rifle with your Firing Hand at all times and use your Support Hand to manipulate the Charging System, without any requirements to rebuild, modify, or buy a new rifle.

The Hard Charger® SIDE CHARGING HANDLE SYSTEM simply mounts to a specific slot in the Picatinny Rail of your Standard Forged Flat Top Upper Receiver and replaces the existing Charging Handle, turning your rifle into a Side Charger.

There are also (5) DIFFERENT PULL HANDLE styles. Each Pull Handle is specially designed for preference and type of use.

Made from 7075 Aluminum with a black ceramic coating:

  • TRADITIONAL PULL HANDLE
  • TACTICAL PULL HANDLE
  • SUBDUED PULL HANDLE
  • COMPETITION PULL HANDLE
  • EXTENDED COMPETITION PULL HANDLE

Check out the M-TAK; Modular Tactical Advantage Kit, giving you (15) DIFFERENT COMBINATIONS of the Hard Charger® in just one kit!

Mil-spec anodized & Ceramic Coated 7075 Aluminum, Steel & Stainless Steel

5 year manufacturer warranty.

U.S. Patent No. 9,746,263

U.S. Trademark Reg. No. 5,354,510

  • Interchangeable
  • Field Strippable
  • Removes Stress On Roll Pin
  • Reduces Torque on Charging Handle
  • Non-Reciprocating
  • Multiple Ways to Charge
  • Gross Motor Skills
  • Optic Clearance

INSTALLATION IN UNDER A MINUTE

The Hard Charger® does not require any machining or modifications to install. The video and directions below go over the installation process in its entirety as well as the supplied instruction sheet with every unit. Should you have any remaining questions, please contact us.

  • Breakdown a safe and empty rifle as normal and remove the original charging handle.
  • Mount the HC Receiver to the rifle in the proper Picatinny slot and secure it down with the supplied hex key. You will notice that the HC Receiver has a dual support system consisting of where it mounts to the rifle and the opposite end standoff support that rests against the rifle. This part is what requires that the rifle's Upper Receiver be a standard forged because of the width requirement needing to be consistent amongst the rifles. We are working on an adaptable HC Receiver that would be compatible with Billet Upper Receivers.
  • Once the HC Receiver is mounted, take the Push Rod and Pull Handle and ensure that they are screwed together, finger tight. You will notice there is a recessed portion of the Push Rod. This part is specific to the installation and field stripping capability of the system.
  • Insert the Pull Handle and Push Rod into the HC Receiver, Pull Handle first.
  • Then take the HC Charging Handle and insert it into the rifle main body with the tube underneath the recessed portion of the Push Rod that is sticking out of the HC Receiver.
  • That cleft/cutout portion of the tube in the HC Charging Handle is designed to go over the recessed portion of the Push Rod. This design also aligns the ears of the HC Charging Handle properly in the Upper Receiver for ease of installation.
  • Now assemble as you would normally. (You can also now disassemble as you normally would.)

Want to know more? Check out our video resources.